Car Electronics
Communication Solutions
Home Audio
United Kingdom & EMEA
Europe
Netherlands
Belgium
United Kingdom
Deutschland
Italia
Iberica
France
Portugal
Car Electronics
Multimedia & Sat Nav Systems
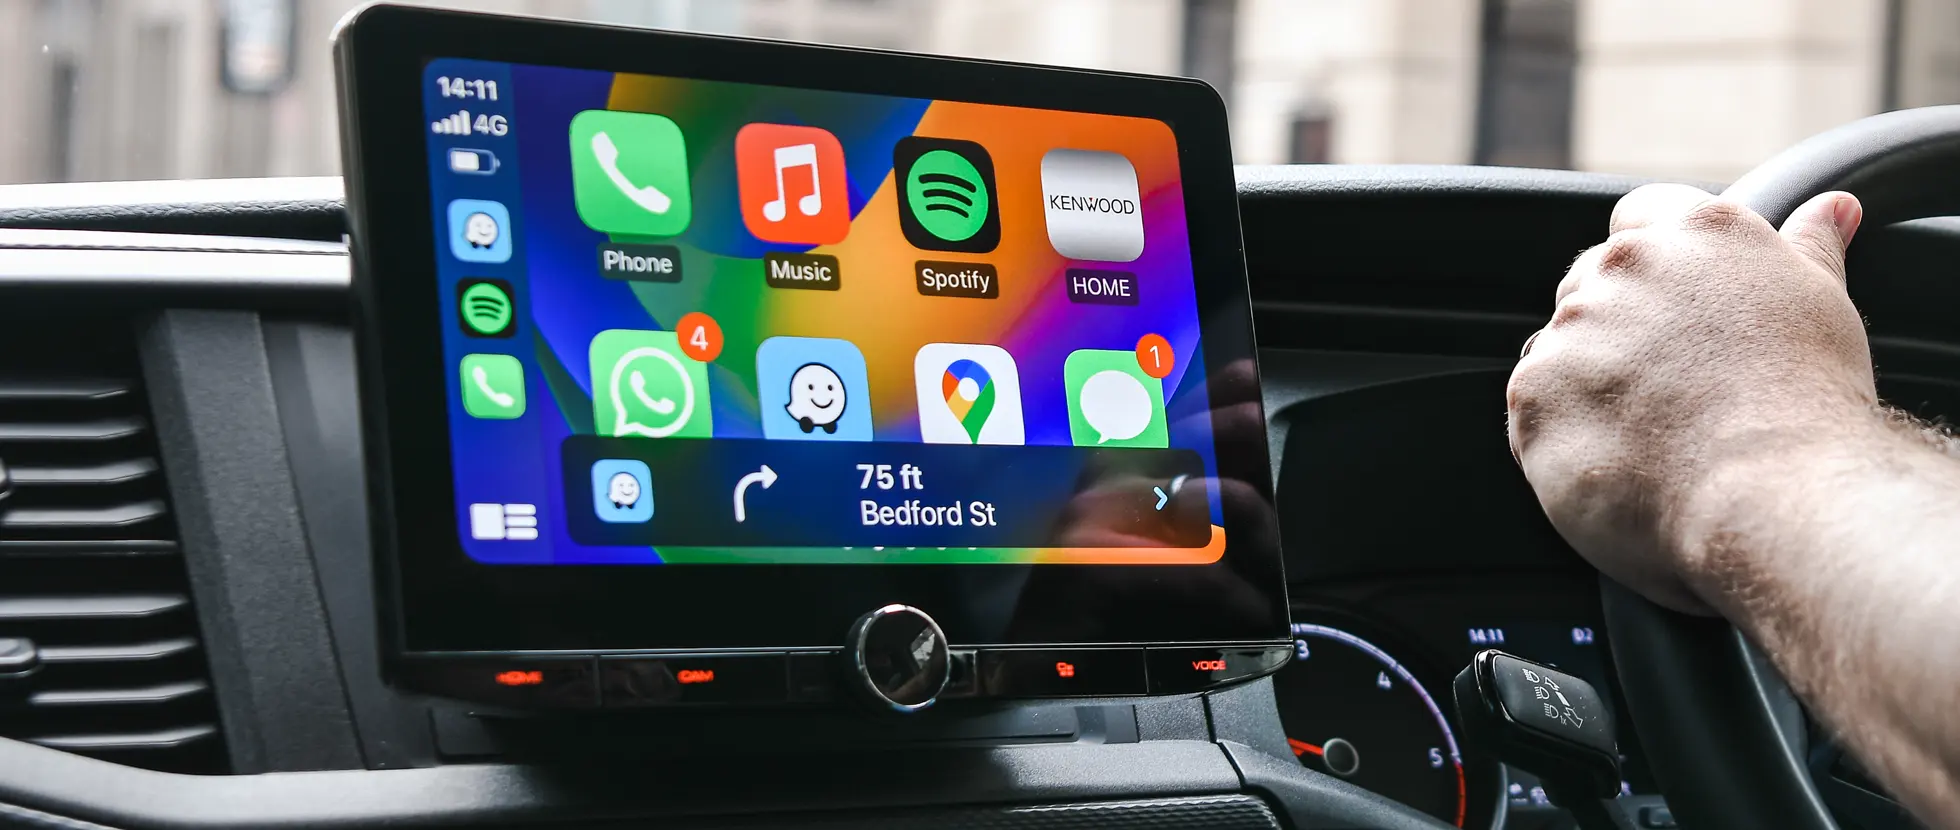
Wireless & Wired Apple CarPlay & Android Auto
Garmin Navigation & Apple Carplay, Android Auto
Multimedia Systems
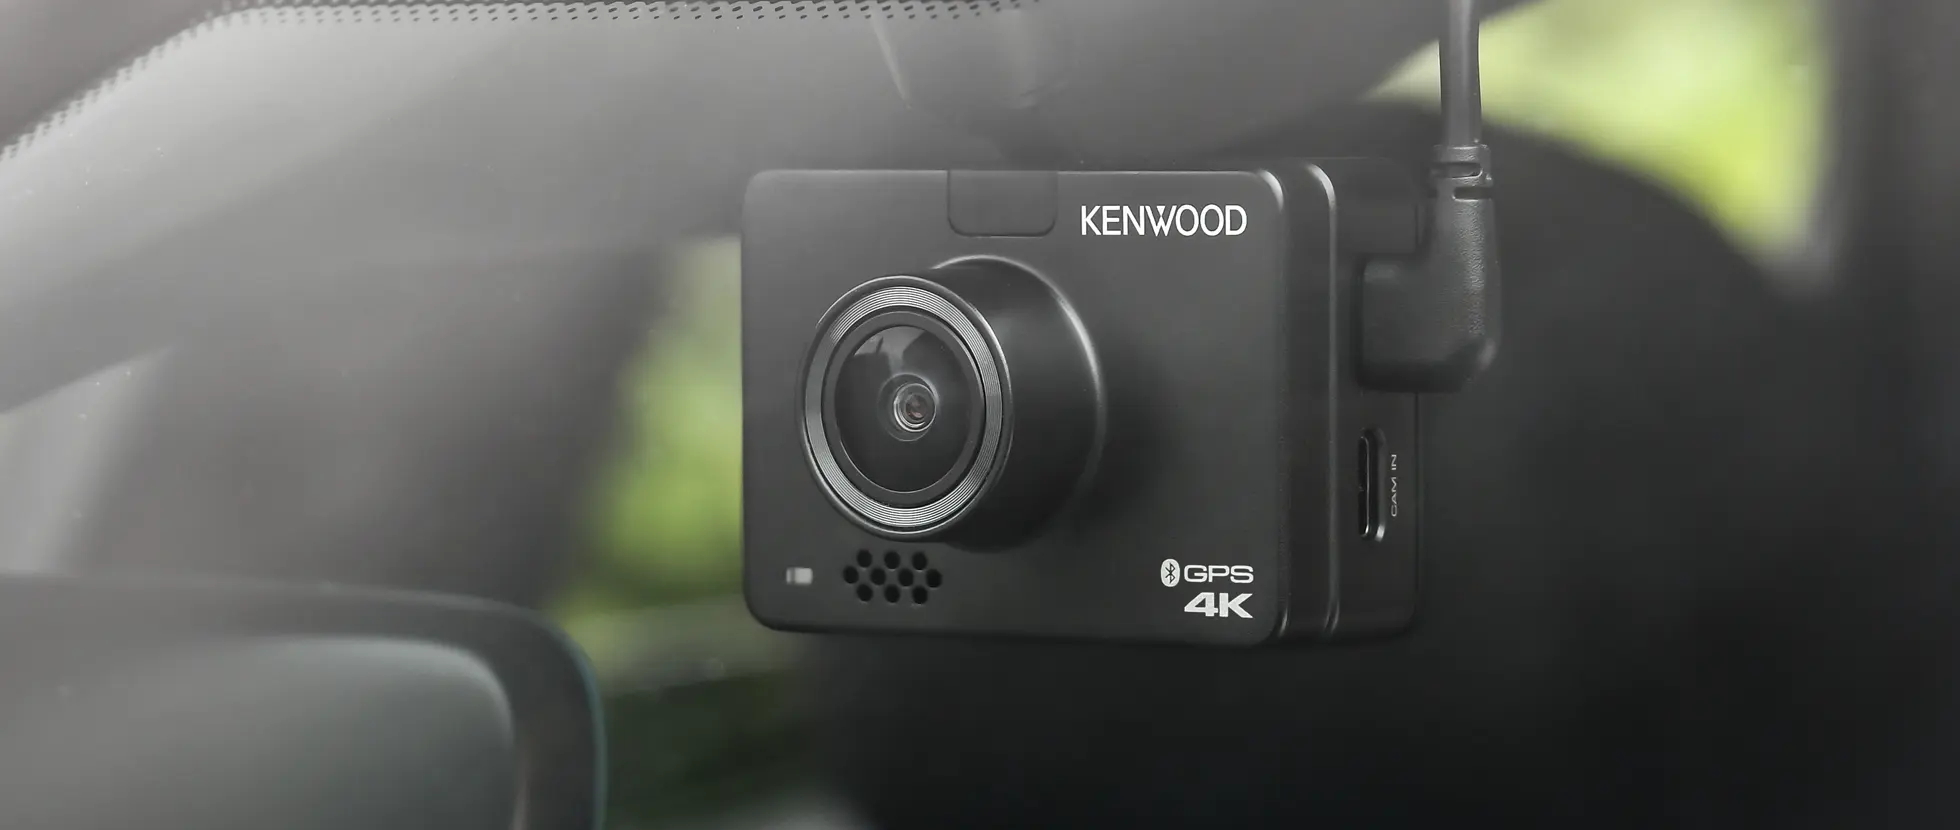
Dash Cams | Multiview & Reversing Cameras
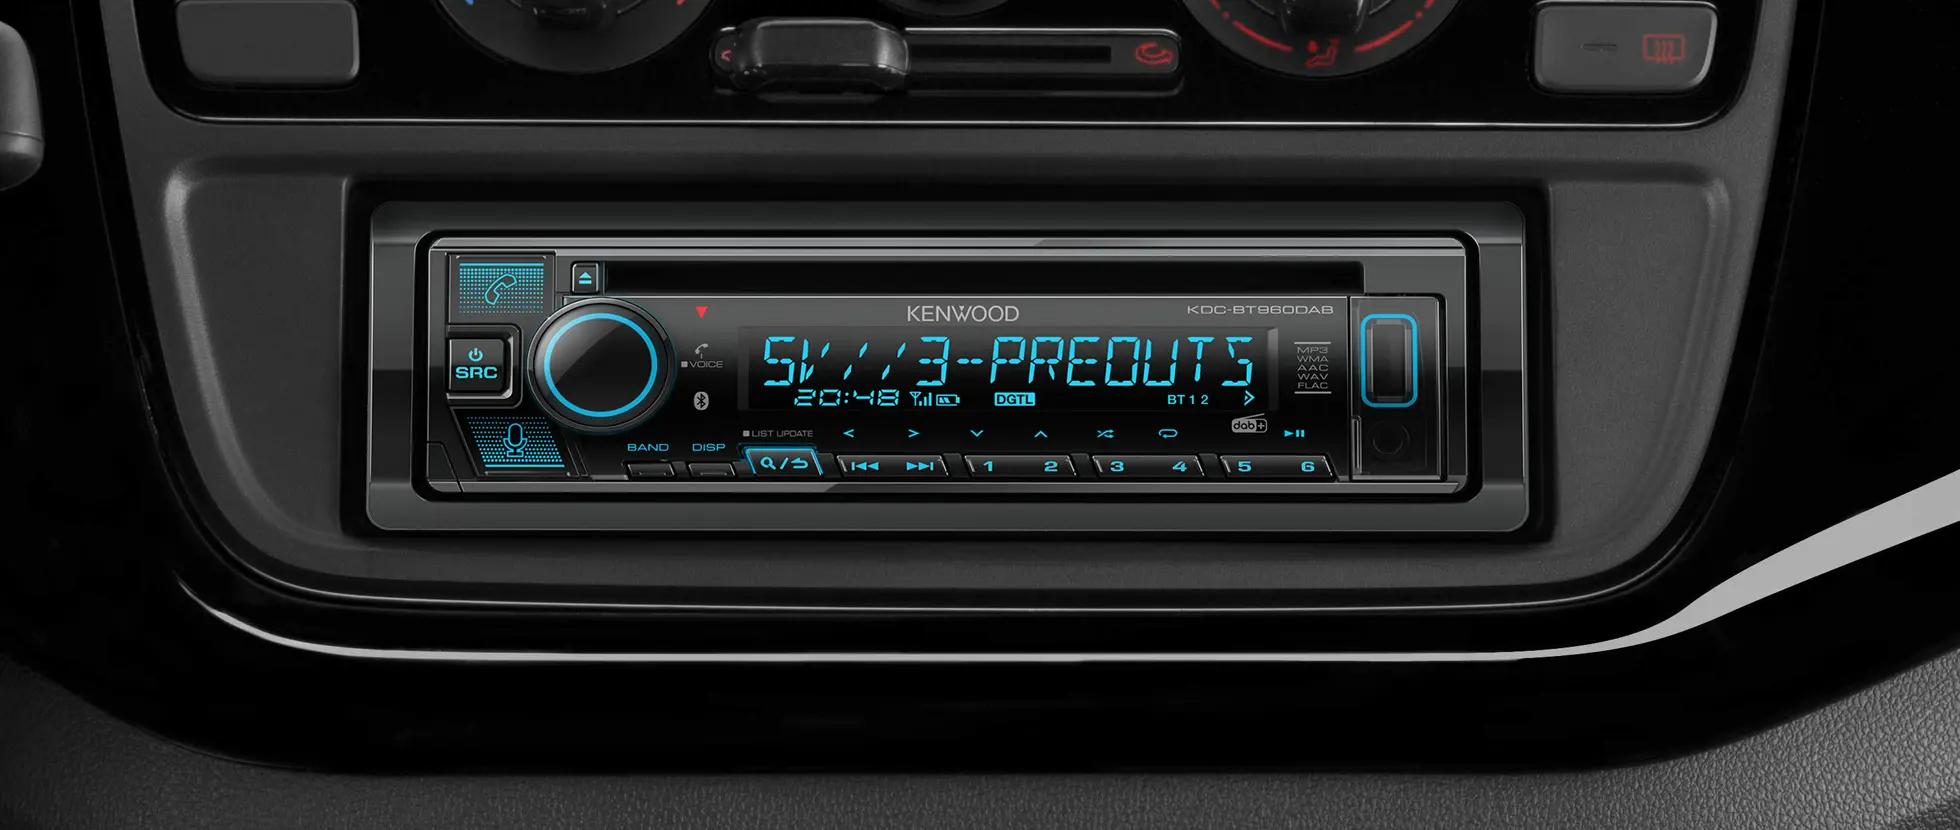
Car Stereos
Amazon Alexa Car Stereos
Bluetooth Car Stereos
DAB+ Car Radios
2DIN Car Stereos
Agriculture & Marine Audio
Amps & Speakers
Amplifiers
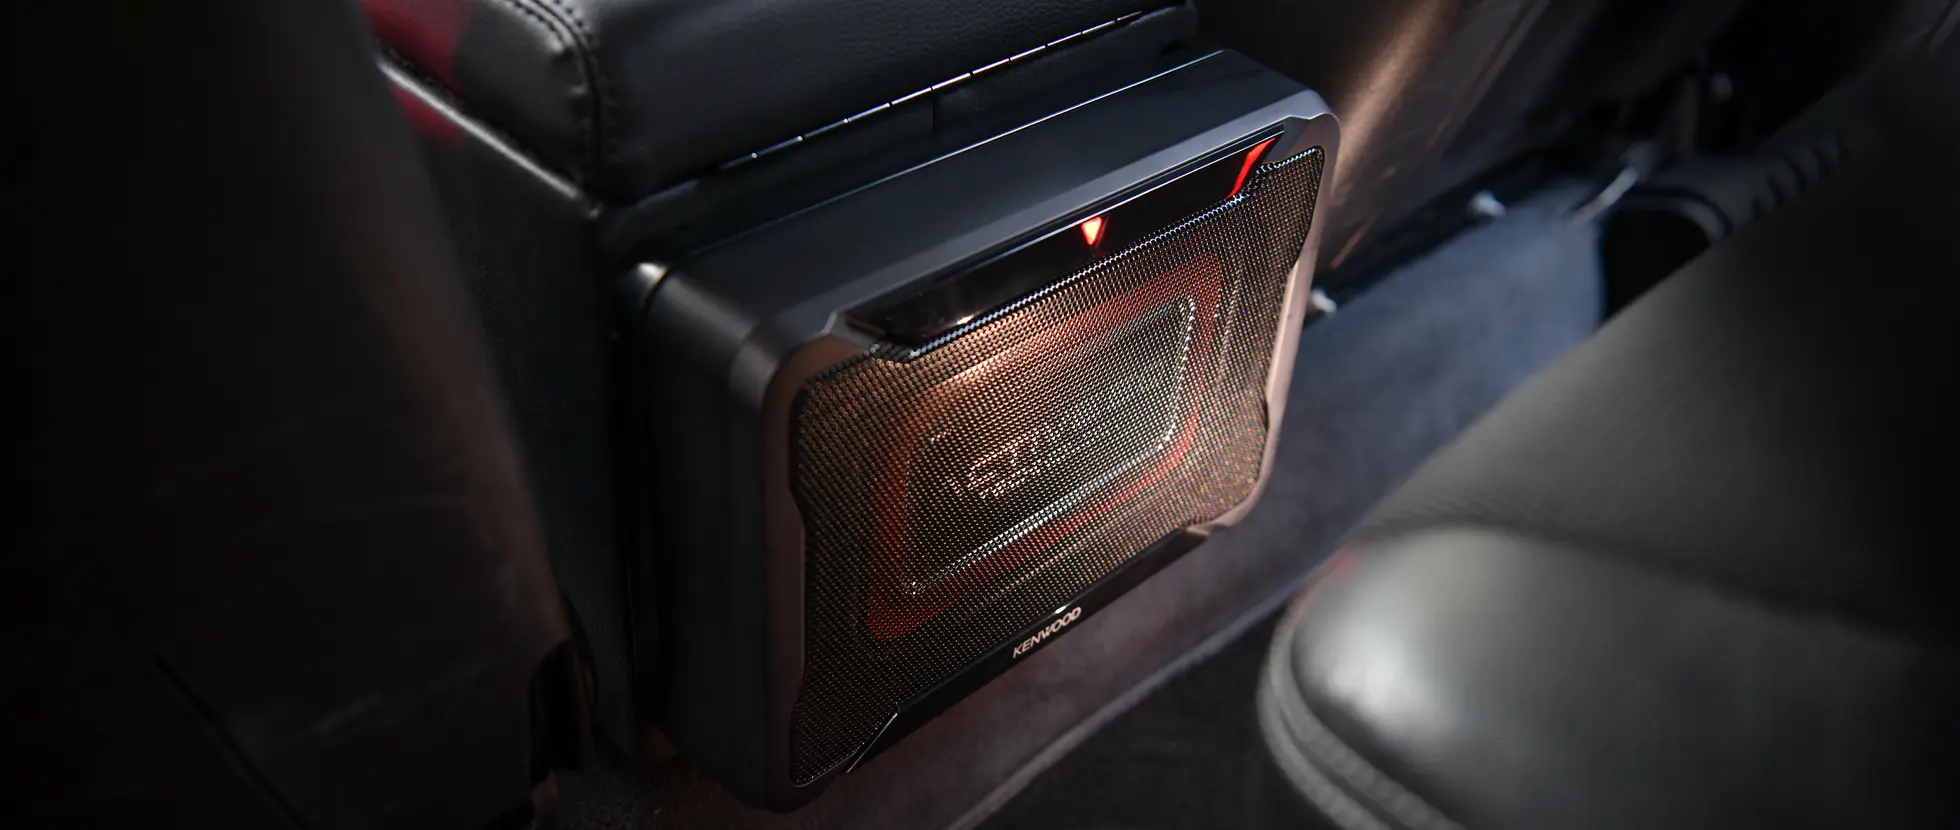
Subs & Component Speakers
Custom Fit Speakers
Regular Speakers
Accessories
Antenna | Leads | Remotes
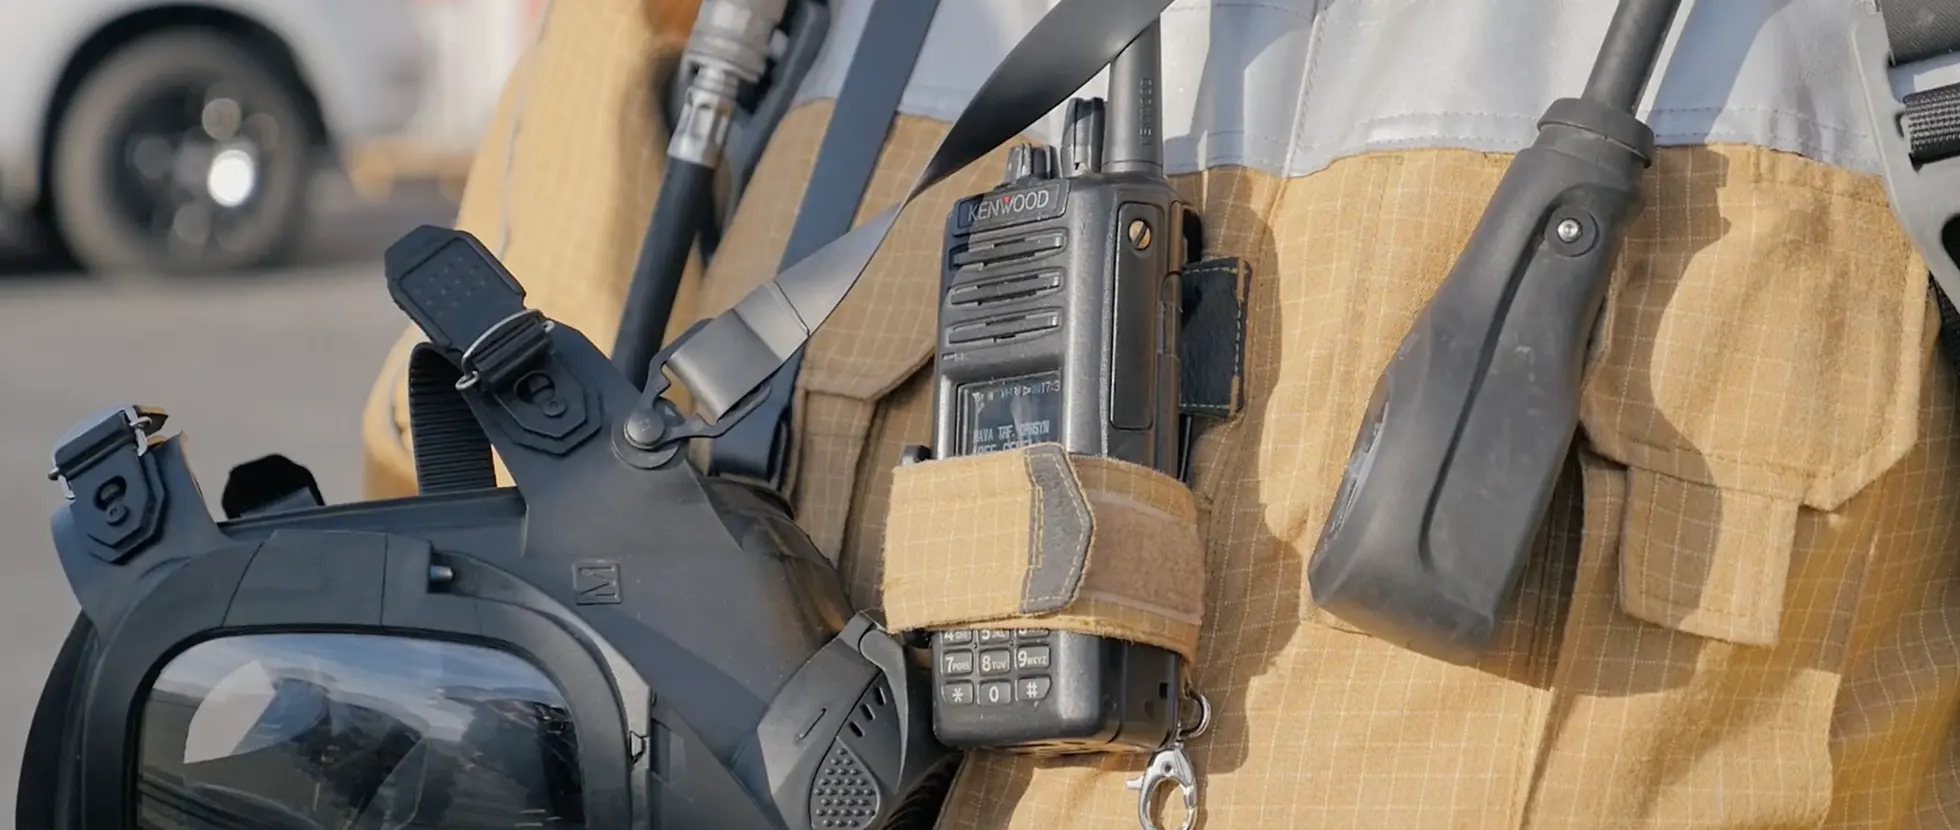
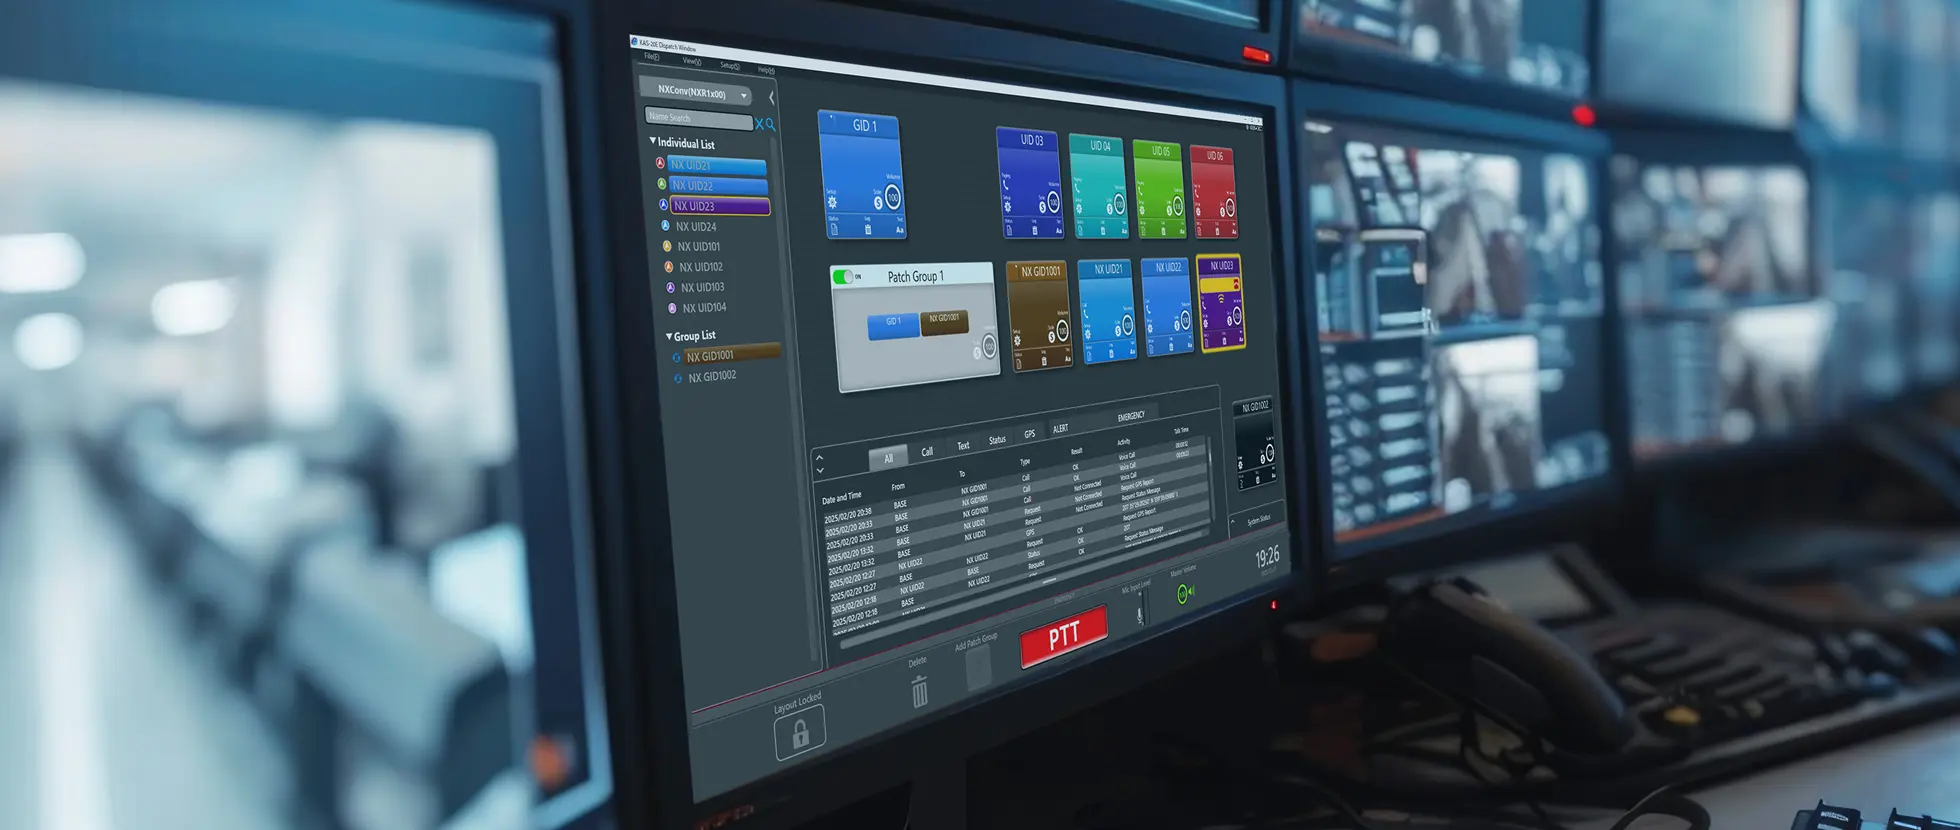
Communication Solutions
Digital - DMR, NXDN & ProTalk PMR446
DMR Portable Radios
Non-EU - DMR Portable Radios
NXDN Portable Radio
Non-EU - NXDN Portable Radios
DMR, NXDN Mobiles
Non-EU - DMR, NXDN Mobiles
NXDN Base Stations, Repeaters
DMR - NXDN Base Stations, Repeaters
NXDN ATEX Portable Radios
ProTalk Digital PMR446
Analogue Licensed & Licensed-Free PMR446
Analogue Licensed Portable Radios
Non-EU - Analogue Licensed Portable Radios
License-Free Analogue PMR446
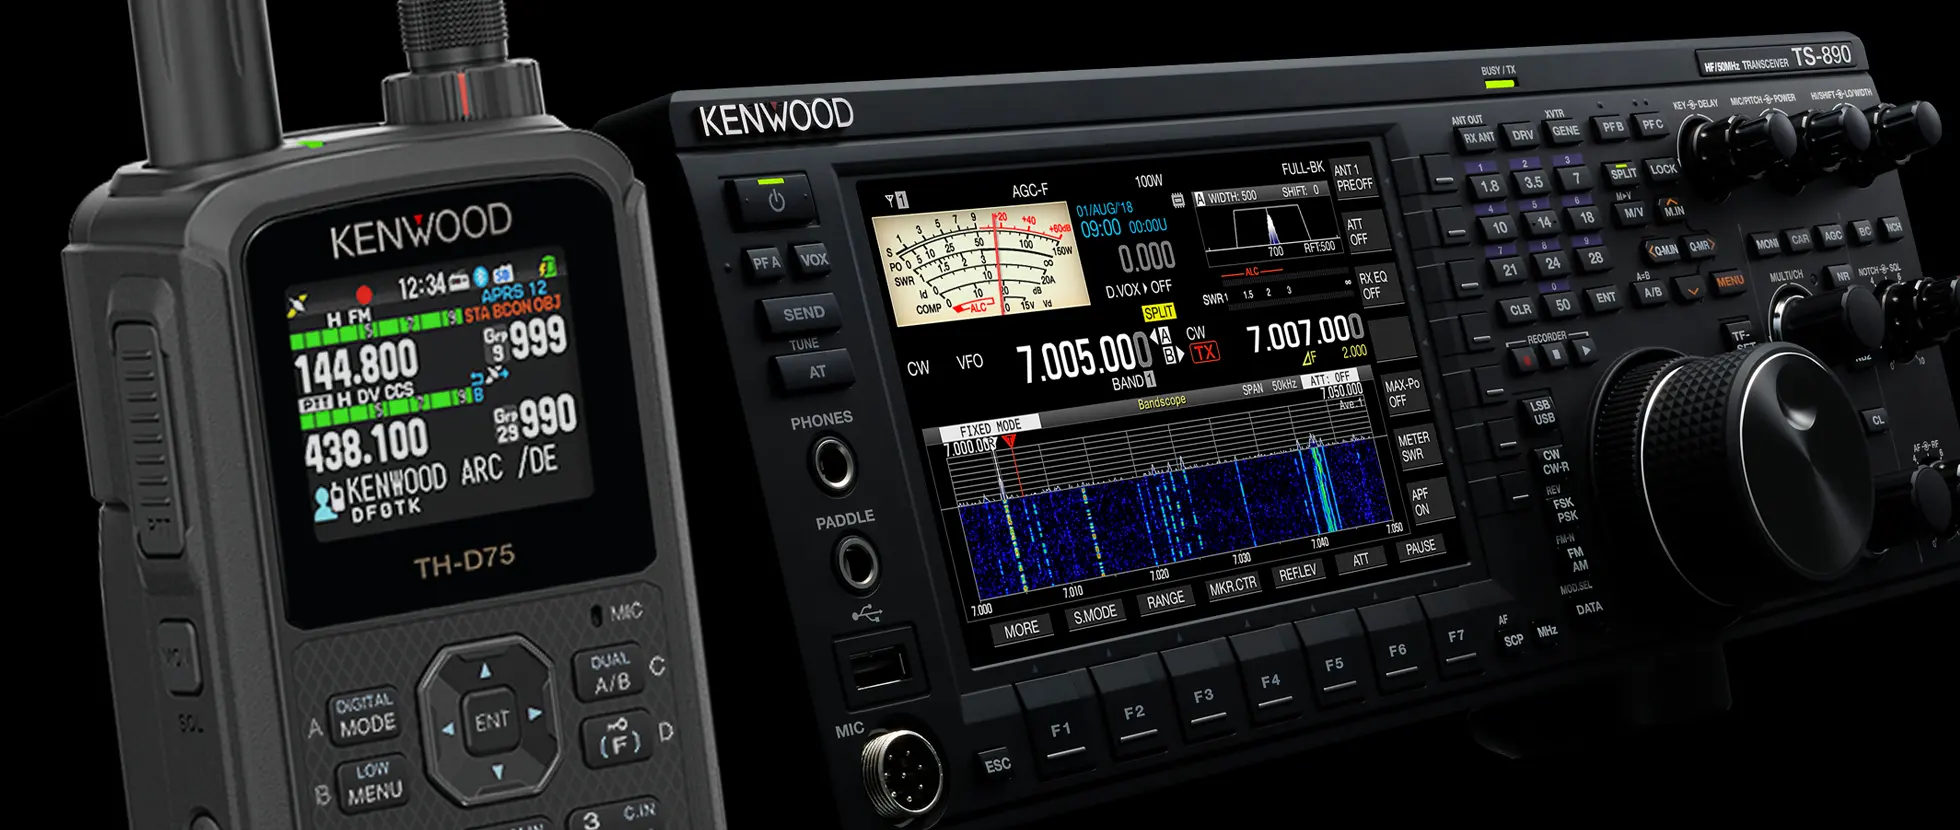
Amateur
HF / All Mode
VHF/UHF Handhelds
Accessories
Microphones
Batteries
Software
Cases
Belt Hooks
Programming Leads
Speakers
Battery Cases
Cables, Leads, Connectors
Headsets, Earpieces
Chargers
Antennas
Modules, Units, Brackets & Kits
Filters & Line Noise Filters
Imaging & Network Devices
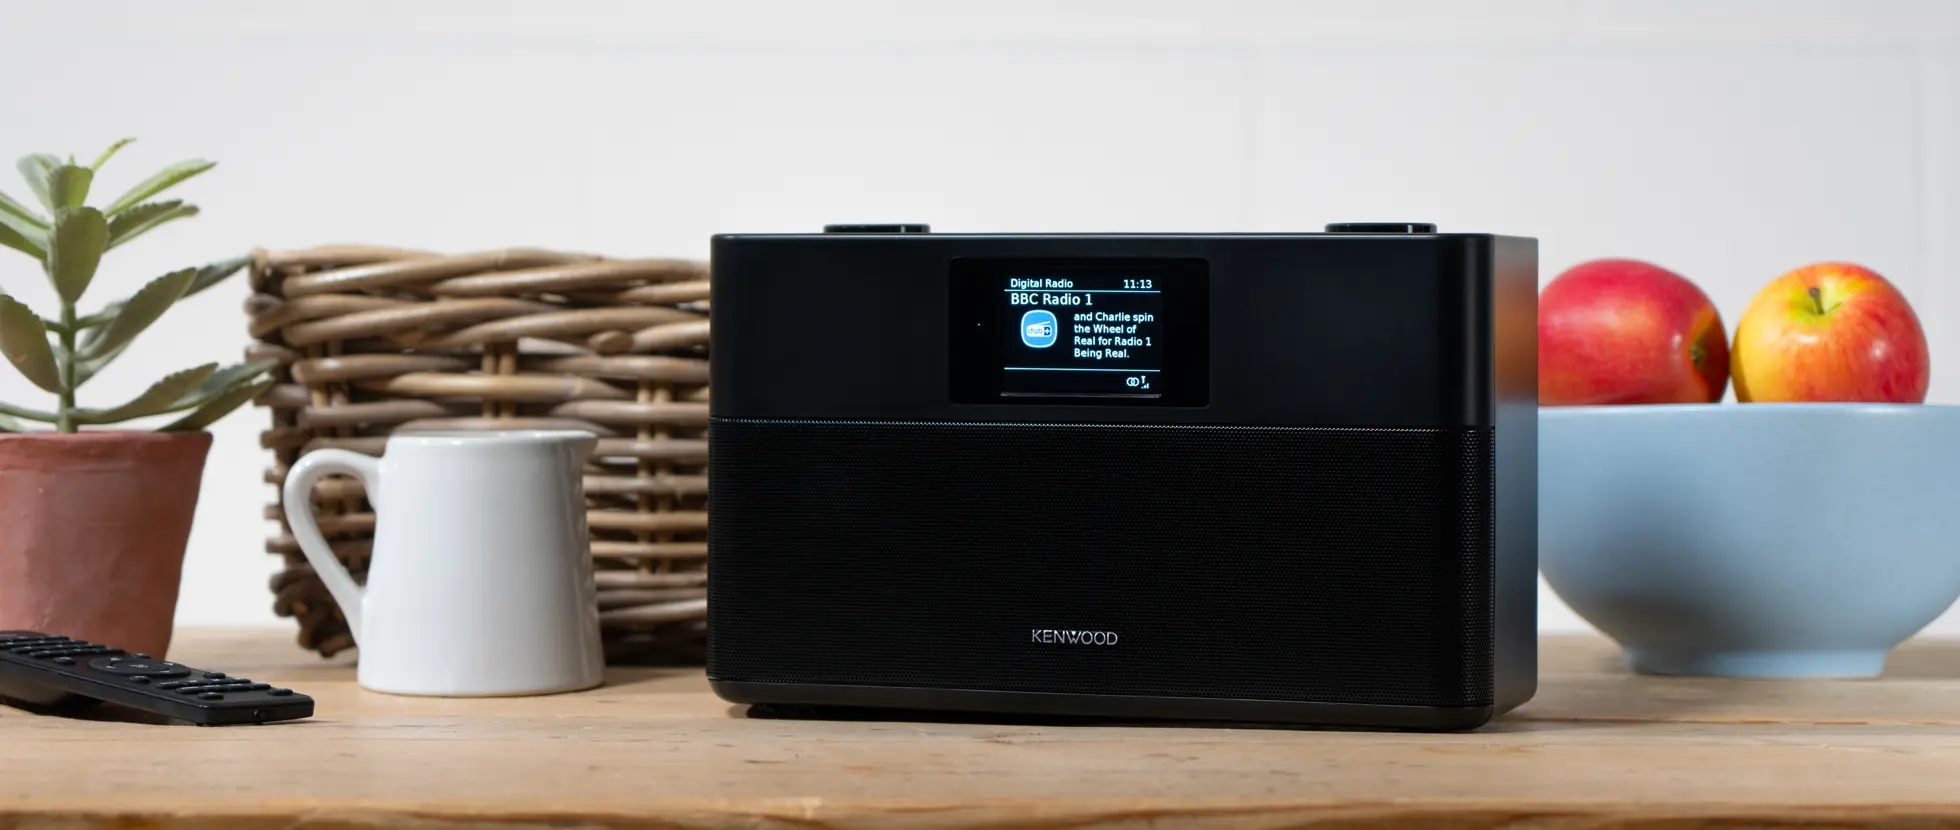
Home Audio
Smart DAB FM Internet Radios
DAB Radios
Portable DAB Radios
Portable Speakers
Homepage
Car
Comm
Home Audio
Where to Buy
About Us
Global Site
JVCKENWOOD
404 Page
Page not found